
Screen recording is a useful tool for a variety of tasks, including developing lessons, recording gameplay, preparing presentations, and capturing software demonstrations. It enables users to record everything that occurs on their computer screen, including audio, allowing them to effectively share information with others.
On both Windows PCs and Macs, screen recording can be done using built-in functionality or third-party software. Each technique has advantages and features that are tailored to certain user requirements. So how to record the screen on your Windows PC or Mac?
Table of Contents
Screen Recording on Windows PC
The built-in screen recorder in Windows 10/11
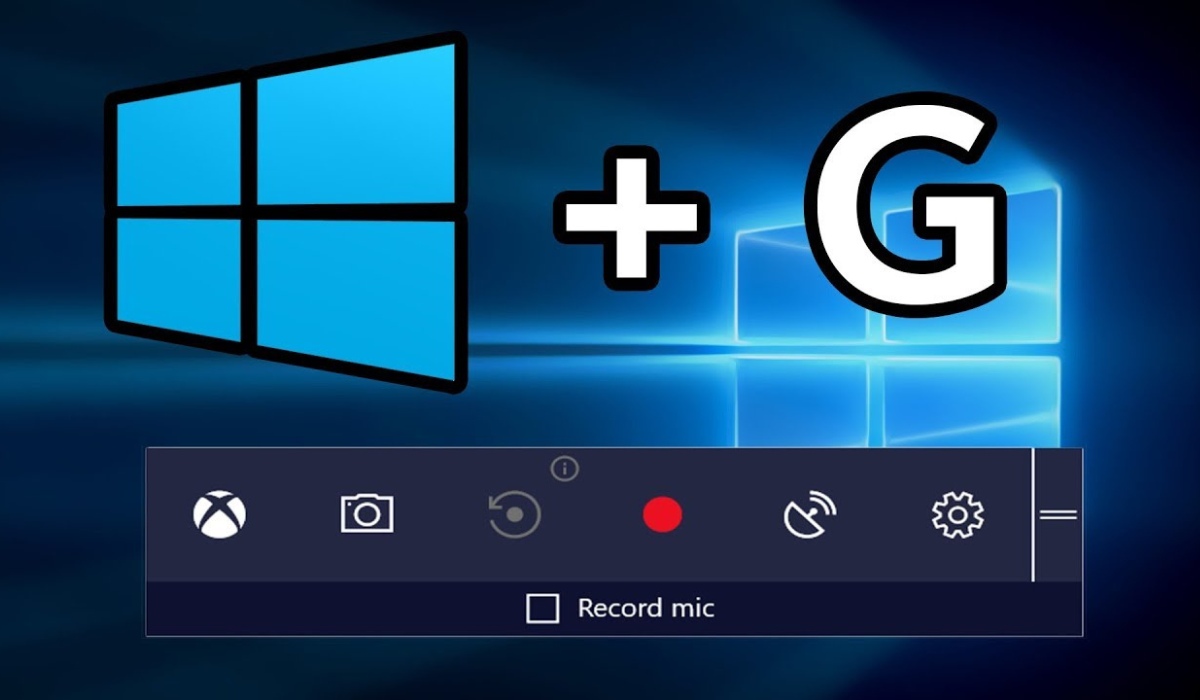
Windows 10 and 11 include a built-in screen recording capability called Game Bar. Users may activate it by pressing the Win + G keys, which allows them to record gameplay, apps, and other screen activity.
Third-Party Screen Recording Software for Windows
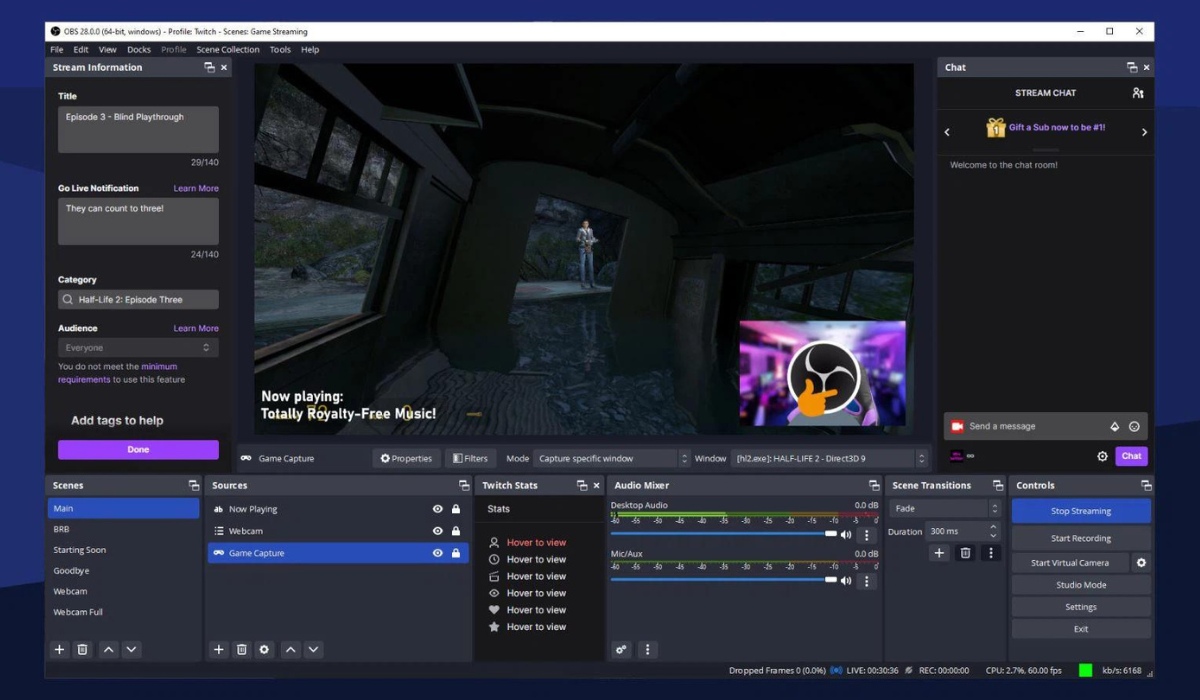
OBS Studio: OBS Studio is a free and open-source screen recording software that includes advanced features including adjustable settings, multiple scene support, and live broadcasting.
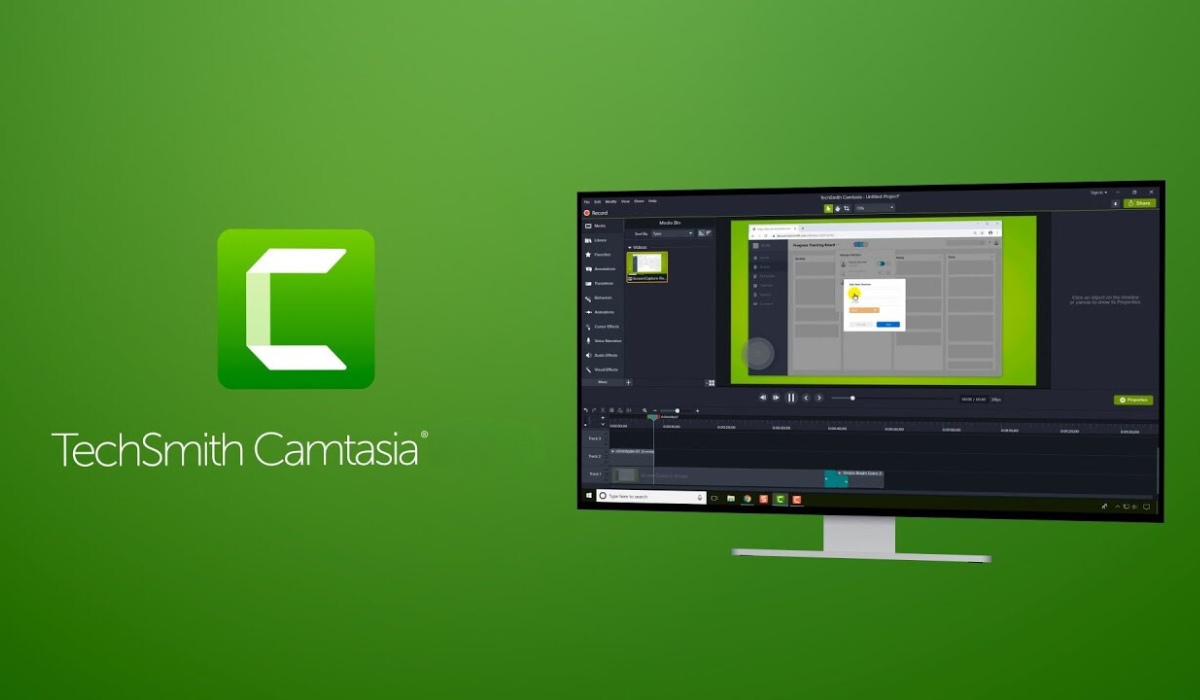
Camtasia: Camtasia is a professional screen recording and video editing program with an easy-to-use interface, extensive editing features, and pre-built templates for producing high-quality films.
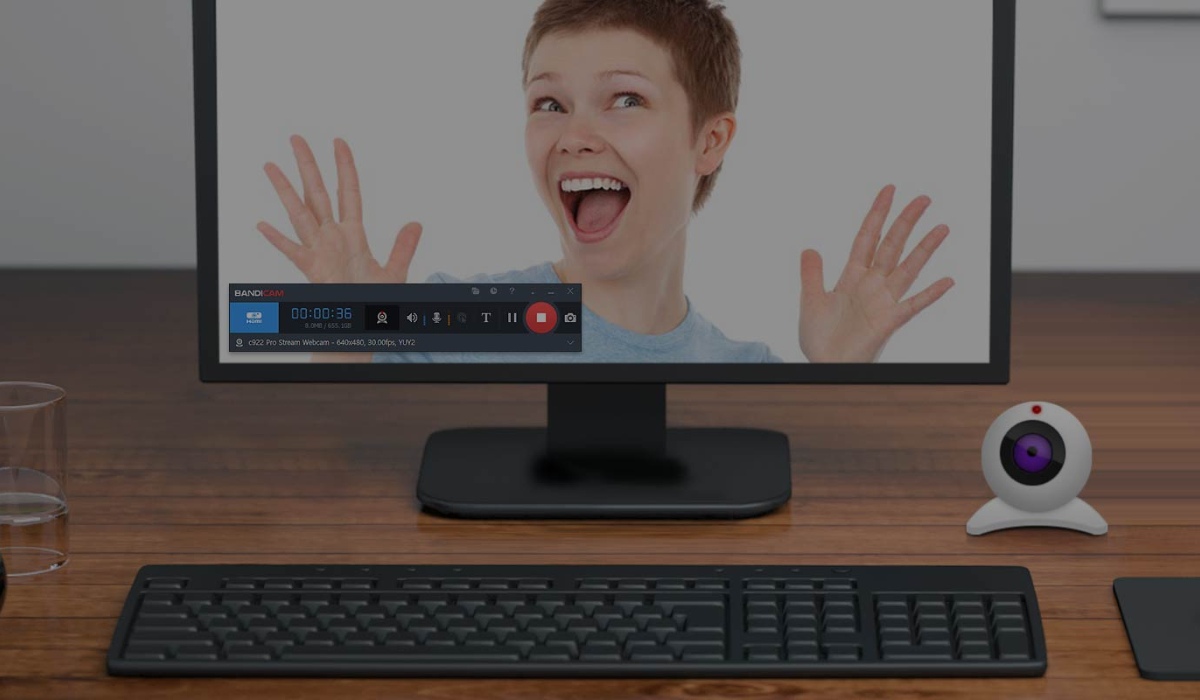
Bandicam: Bandicam is a lightweight screen recording software that focuses on capturing gameplay while minimizing system performance. It supports real-time drawing, camera overlay, and hardware acceleration.
Screen Recording on Mac
Built-in screen recorder (QuickTime Player)
Mac users can record their screens with QuickTime Player, macOS’s built-in media player. QuickTime Player has basic screen recording capabilities, such as the ability to capture the full screen or a specific piece of it.
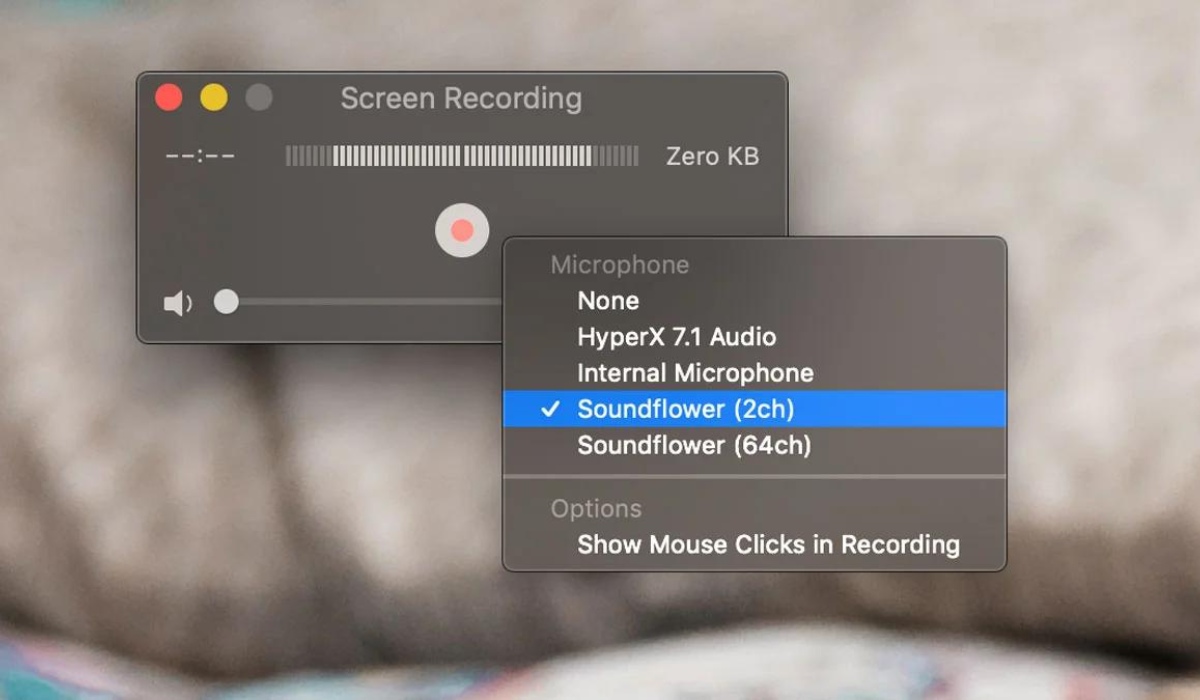
- Open QuickTime Player from your Applications folder, then select File > New Screen Recording from the menu bar.
- Before starting the recording, you can click on the arrow next to the Record button to change the recording settings.
- To begin recording, click the Record button, and then perform one of the following actions: Click anywhere on the screen to start recording the entire screen. Or drag to select the area you want to record, then click Start Recording in that area.
- To stop recording, click the Stop button in the menu bar or press Command-Control-Esc (Escape).
- After you stop recording, QuickTime Player will automatically open the recording. Now you can play, edit, or share the recording.
Third-party Mac screen recording software
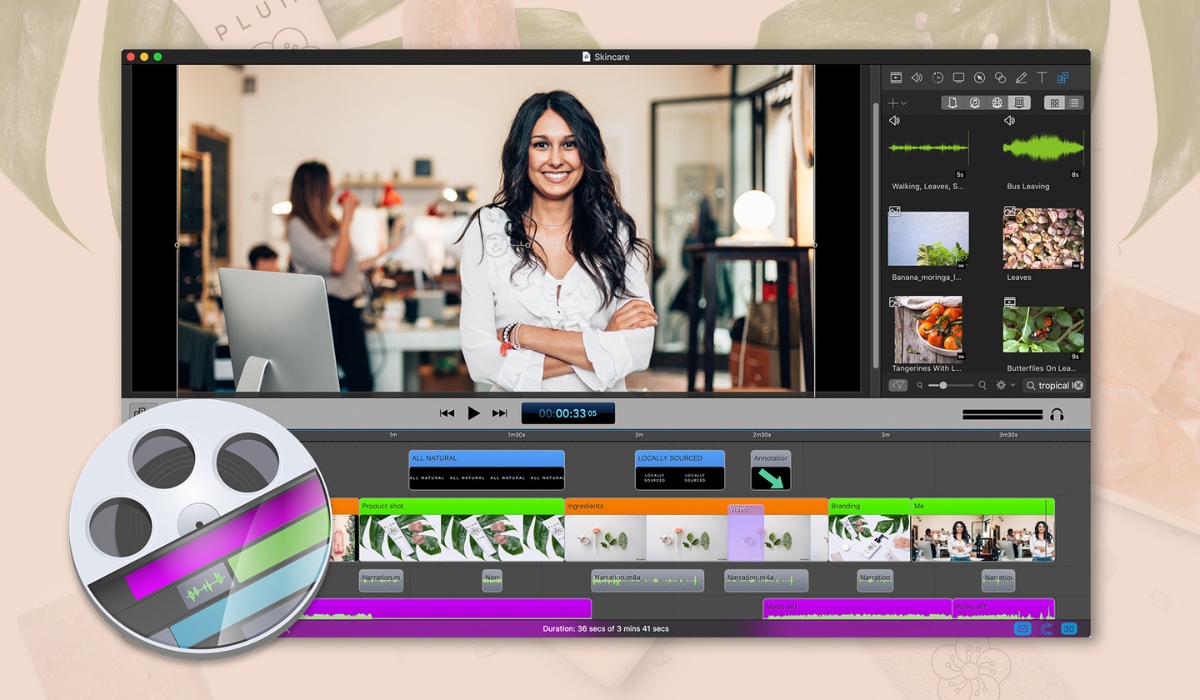
ScreenFlow: ScreenFlow is a sophisticated screen recording and video editing software for Mac that includes advanced editing functions, multi-channel audio recording, and iOS screen recording.

Snagit: Snagit is a simple but excellent screen capture and recording application that allows users to easily take screenshots, record videos, and annotate photos.
OBS Studio: OBS Studio is also available for Mac, and it has the same capabilities as its Windows cousin, including as adjustable settings and live streaming support.
Steps for Screen Recording
- Preparation: Adjusting Settings and Selecting the Recording Area
Before beginning the recording, users should modify the recording parameters, such as resolution, frame rate, and audio input.
They should also select whatever part of the screen they want to capture.
- Begin the recording process.
Once the settings are adjusted, users can begin recording by clicking the record button or using keyboard shortcuts.
- Pausing and resuming Recording (if applicable).
Some screen recording software allows users to pause and resume recording at any moment, allowing them to remove unnecessary material later.
- Ending the Recording Session
After collecting the necessary content, users can pause the recording by clicking the stop button or utilizing keyboard shortcuts.
- Save and export the recorded video.
Finally, users can save the recorded video to their computer and export it in the preferred format for further sharing or editing.
Conclusion
Screen recording is a flexible tool that lets you capture and share your computer screen with others. Whether using built-in functionality or third-party software, there are numerous options for both Windows PC and Mac users. Screen recording is used for a variety of purposes, including making tutorials and presentations as well as recording gaming and software demonstrations. By mastering the screen recording method, users may efficiently express information and share their knowledge with others. The information above on how to record the screen on your Windows PC or Mac is provided in the hope that it will be useful to you; please participate in other posts!